Documentation Nexus IQ Server 1.27

Our documentation site has moved. For the most current version, please see http://help.sonatype.com

7.3. User Management

While we recommend using a security protocol such as LDAP for managing users and permissions, the IQ Server realm is still available for those who would like a lighter setup, where all users, groups and rights are stored directly in the IQ Server.

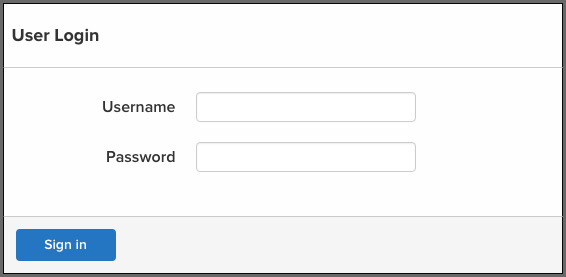
At a minimum, IQ Server requires you to log in before anything else can happen. This can be done by creating a user within the IQ Server realm, or by configuring LDAP, and logging in via one of those connected users.

figs/web/user-management-login.png

Figure 7.2. Login


7.3.1. Changing the Admin Account Password

The IQ Server ships with a default Admin account with a username admin and a password admin123. If you do nothing else related to security, be sure to change this password. We’ll cover this in the Section 7.3.3, “Editing and Deleting User Information”. For now, we’ll simply detail the process to change the password for the Admin account.

  1. After logging in with the Admin account, click on the button with your username to the left of the System Preferences gear-shaped, icon. For the default administrator the username will show Admin Builtin.
  2. A list of options will be displayed, click Change Password.
  3. Enter the current password (admin123 for the default admin user), the new password, and then confirm the new password.
  4. Click the Change button to save the new password.
[Note]

Any user, including an admin, can change their password following the instructions above. However, only an admin can reset a user’s password (discussed later in this chapter) without knowledge of the current password.

7.3.2. Creating a User

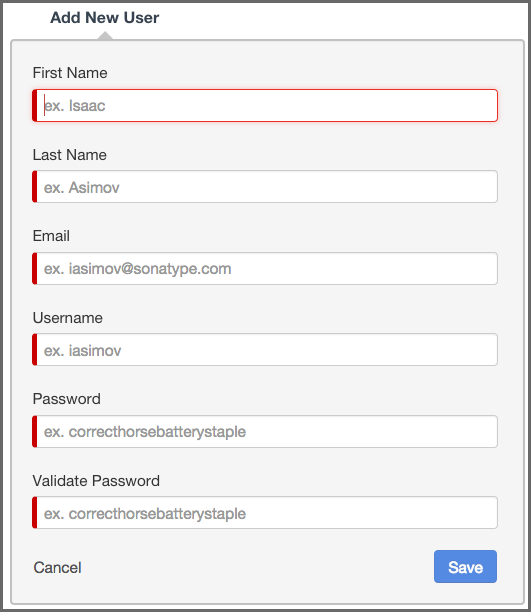
To create a new user in the IQ Server realm, follow the instructions below.

  1. Log into the IQ Server with a user that has been assigned to the System Administrator role.
  2. Click the System Preferences icon figs/web/clm-server-system-preferences-icon.png located in the top right of the header.
  3. Choose Users from the drop down menu. The Users administration area will now be displayed.
  4. Click the New User button located at the top of the list of users.
  5. The Add New User form will now be displayed. Enter the following information:

    1. First Name
    2. Last Name
    3. Email
    4. Username
    5. Password
    6. Validate Password
  6. Click the Save button, to save the new user.
figs/web/user-management-create-user.png

Figure 7.3. Create User


7.3.3. Editing and Deleting User Information

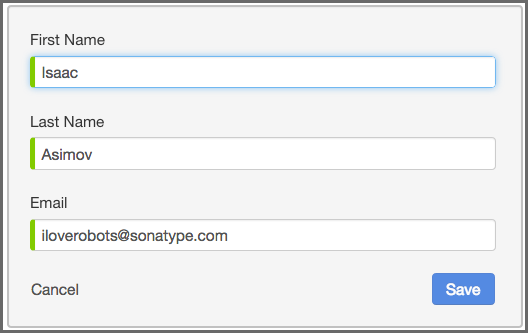
Editing user information is only available to an admin. The information that can be edited includes the first name, last name, email address, and password. To edit an existing user, follow these steps:

  1. Log into the IQ Server with a user that has been assigned to the System Administrator role.
  2. Click the System Preferences icon figs/web/clm-server-system-preferences-icon.png located in the top right of the IQ Server header.
  3. Choose Users from the drop down menu. The Users administration area will now be displayed.
  4. At least one user - the initial admin account - will be displayed. If you hover your pointer over the user record you will notice that there are three icons on the right.

    1. The icon shaped like a pencil will allow you to edit user information (i.e. first name, last name, and e-mail address).
    2. The icon shaped like a bag with an arrow back is for resetting a user’s password. If you use this option a random, secure password will be generated and displayed in a dialog. Click the icon to the right of the field to copy it to clipboard.
    3. The icon shaped like a trashcan will allow you to delete the user after you confirm the deletion in a dialog.
  5. Make any desired changes, and unless you chose to delete the record, click the Save button.
[Tip]

With regard to changing a user’s password, a user can always change their own password. However, this requires knowledge of the existing password. If you encounter a user that has forgotten their password, you can reset it for them.

figs/web/user-management-edit-user.png

Figure 7.4. Edit User