Documentation Nexus IQ Server 1.17

Our documentation site has moved. For the most current version, please see http://help.sonatype.com

17.2. Configuring Sonatype CLM for Eclipse

After successful installation of Sonatype CLM for Eclipse, you will be able to choose to show the Sonatype CLM view displayed in Figure 17.2, “Activating the Component Info View of Sonatype CLM for Eclipse”.

To access this view:

  1. Choose the Window menu and select Other in the Show View submenu.
  2. Locate the Sonatype CLM section with Component Info as shown in Figure 17.2, “Activating the Component Info View of Sonatype CLM for Eclipse”.
  3. Select it and press OK and the view will appear in your IDE.
[Tip]

By typing "Compo" in the filter input, Component Info is automatically highlighted.

figs/web/ide-eclipse-show-view.png

Figure 17.2. Activating the Component Info View of Sonatype CLM for Eclipse


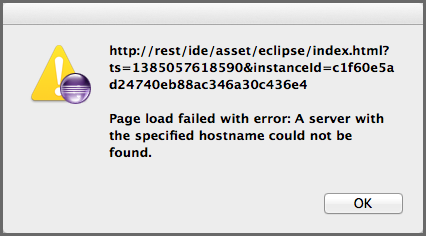
Once the view is displayed, a warning will appear. This is because the you need to point Eclipse at your Sonatype CLM Server.

figs/web/ide-eclipse-clm-install-warning2.png

Figure 17.3. Warning after initial installation


To configure the Sonatype CLM for Eclipse plugin, simply press the figs/web/ide-eclipse-clm-icon-configure.png Configure button in the top right-hand side of the component view.

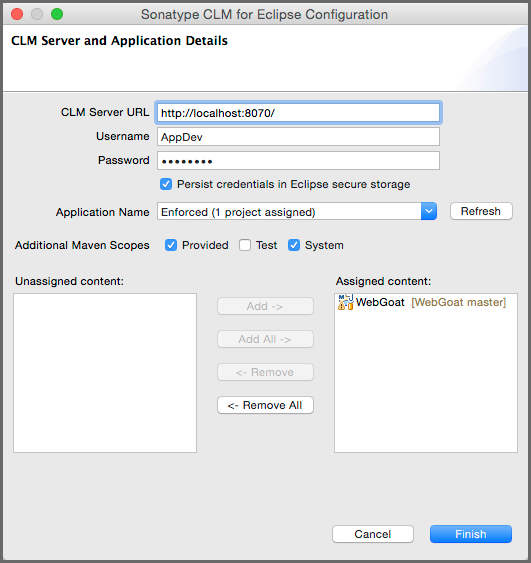
Once in Sonatype CLM for Eclipse Configuration area, there are a number of parameters you will need to complete before you can review data from Sonatype CLM. These are covered below.

figs/web/ide-eclipse-clm-configure-dialog.png

Figure 17.4. Sonatype CLM for Eclipse Configuration Dialog


CLM Server URL
The CLM Server URL input field has to be configured with the URL of your Sonatype CLM server.
Username and Password
This is the username and password your Sonatype CLM Administrator has assigned you. In many cases this will simply be your single sign on credentials (e.g. LDAP), though it may also be a unique username. Again, your administrator will advise you of this login information.
[Note]

Selecting the option to persist credentials in Eclipse secure storage will reuse your credentials after a restart. If this is not selected you will need to reenter your credentials after a restart.

Application Name
The Application Name is the application which has been configured in the CLM server for you. This should match the common name you associate with the application. If you don’t see a name you recognize, contact your Sonatype CLM Administrator.
[Note]

The drop down will display a list of all available applications after pressing the Refresh button.

Additional Maven Scopes
The compile and runtime scopes will always be considered. Additional scopes (provided, test, and system) you would like CLM to include can also be selected.
Assigned vs. Unassigned Content
After selecting an application name that represents a collection of policies configured in your CLM server, you can determine the Eclipse projects that should be analyzed. The list on the left titled Unassigned content contains all projects in your current Eclipse workspace that have not been assigned to a Sonatype CLM Application. Select a project from that list and add it to the Assigned content list on the right by clicking the Add button. This will add the project to the component analysis via the CLM server. In order to perform an analysis, the project needs to be open. To select multiple projects use the Shift and Control keys, and then click the Add button. The Add All, Remove and Remove All buttons help you to control the projects to analyze for different analysis sessions.
[Note]

Projects can, at most, be assigned to a single application.

With a finished selection of the projects you want to analyze, press the Finish button and wait for the component list to be displayed in the view. Section 17.3, “Using the Component Info View” documents how to inspect the results of the analysis and further features available from this information.

[Tip]

Only open projects will be taken into account as part of the component analysis.