
Sonatype CLM Server - Policy Management Guide
- Log into the Sonatype CLM Server (by default this is available at http://localhost:8070) with a user account that has at least owner level permissions for the application’s selected organization (a member of the Owner Group for the application’s selected organization).
-
Next, click the Organizational Design icon
 to
access the Organizational Design area.
to
access the Organizational Design area.
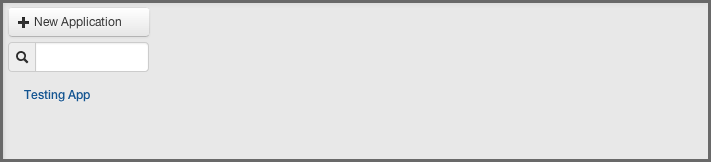
- Now, click the Applications link (located in menu on the left). This will open the Application Management area, and once there, click the New Application button (displayed in Figure 4.3, “Creating an Application”).
- Click on the area labeled Enter Application Name, and type the application name.
- Enter an application identifier by clicking in the area labeled Enter ID.
- Choose the organization by clicking the Select Organization drop down and selecting the desired organization
-
From here, there are two additional options
- First, you can choose a contact person for the application. The contact will be displayed in the reporting area of Sonatype CLM, as well as the PDF version of the report. When choosing a contact, it’s best to think of this as the person that is responsible for the application, or at the very least, should be contacted if there is an issue. To choose the contact, click the area next to the contact field. This will open a search dialog modal, allowing you to select a user (including those from any connected realm - e.g. LDAP). It is important to note, that if you are setting a contact, you will need to at least be a member of the owner role for the parent organization, which is also required to save the application you are trying to create.
- Second, you can add an image that will be an icon for your application by hovering over the image and pressing Choose Icon. The image should be sized to 160 x 160 pixels and use the PNG format. Images with different sizes will be scaled. Alternatively you can press Want a robot to use a robot image. Each time you click on the link, a new robot image will appear.
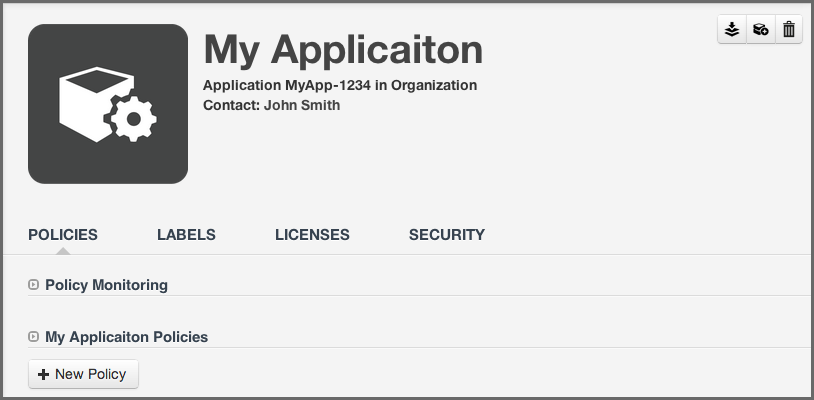
- Once you clicked the Save button you will be directed to the overview screen for your brand new application displayed in Figure 4.4, “Application Management Area”.
Warning
Be careful when selecting your organization, as this can’t be changed once the application is created.