Documentation Nexus IQ Server 1.17

Our documentation site has moved. For the most current version, please see http://help.sonatype.com

6.5. Creating an Application

As a general rule with any activity, make sure you have proper access to the Nexus IQ Server. In the case of application creation, you will need to be a member of a role that has been granted the Edit CLM Elements permission. In the roles provided by default, this would be the Owner role.

To create an application:

  1. Click the Manage Applications and Organizations icon figs/web/clm-server-manage-app-org-icon.png on the Nexus IQ Server toolbar.
  2. In the sidebar, select the organization to which the new application will be attached.
  3. Click the New Application button. This will display the Application Creation screen in the Manage Applications and Organizations area.
  4. Click the text Enter Application Name, and type an application name.
  5. Enter an application identifier by clicking in the area labeled Enter ID.
  6. Verify the desired organization is selected for the new application. You can click the Organization drop down list and choose a different organization.

    [Warning]

    Be careful when selecting your organization, as this can’t be changed once the application is created.

  7. Optionally, you can assign a contact person for the application. The contact will be displayed in the reporting area of the Nexus IQ Server, as well as the PDF version of the report. To choose a contact, click the area next to the Contact label. This will open a search window that allows you to select a user (including those from any connected realm, for example, LDAP).
  8. Click the Save button.
[Note]

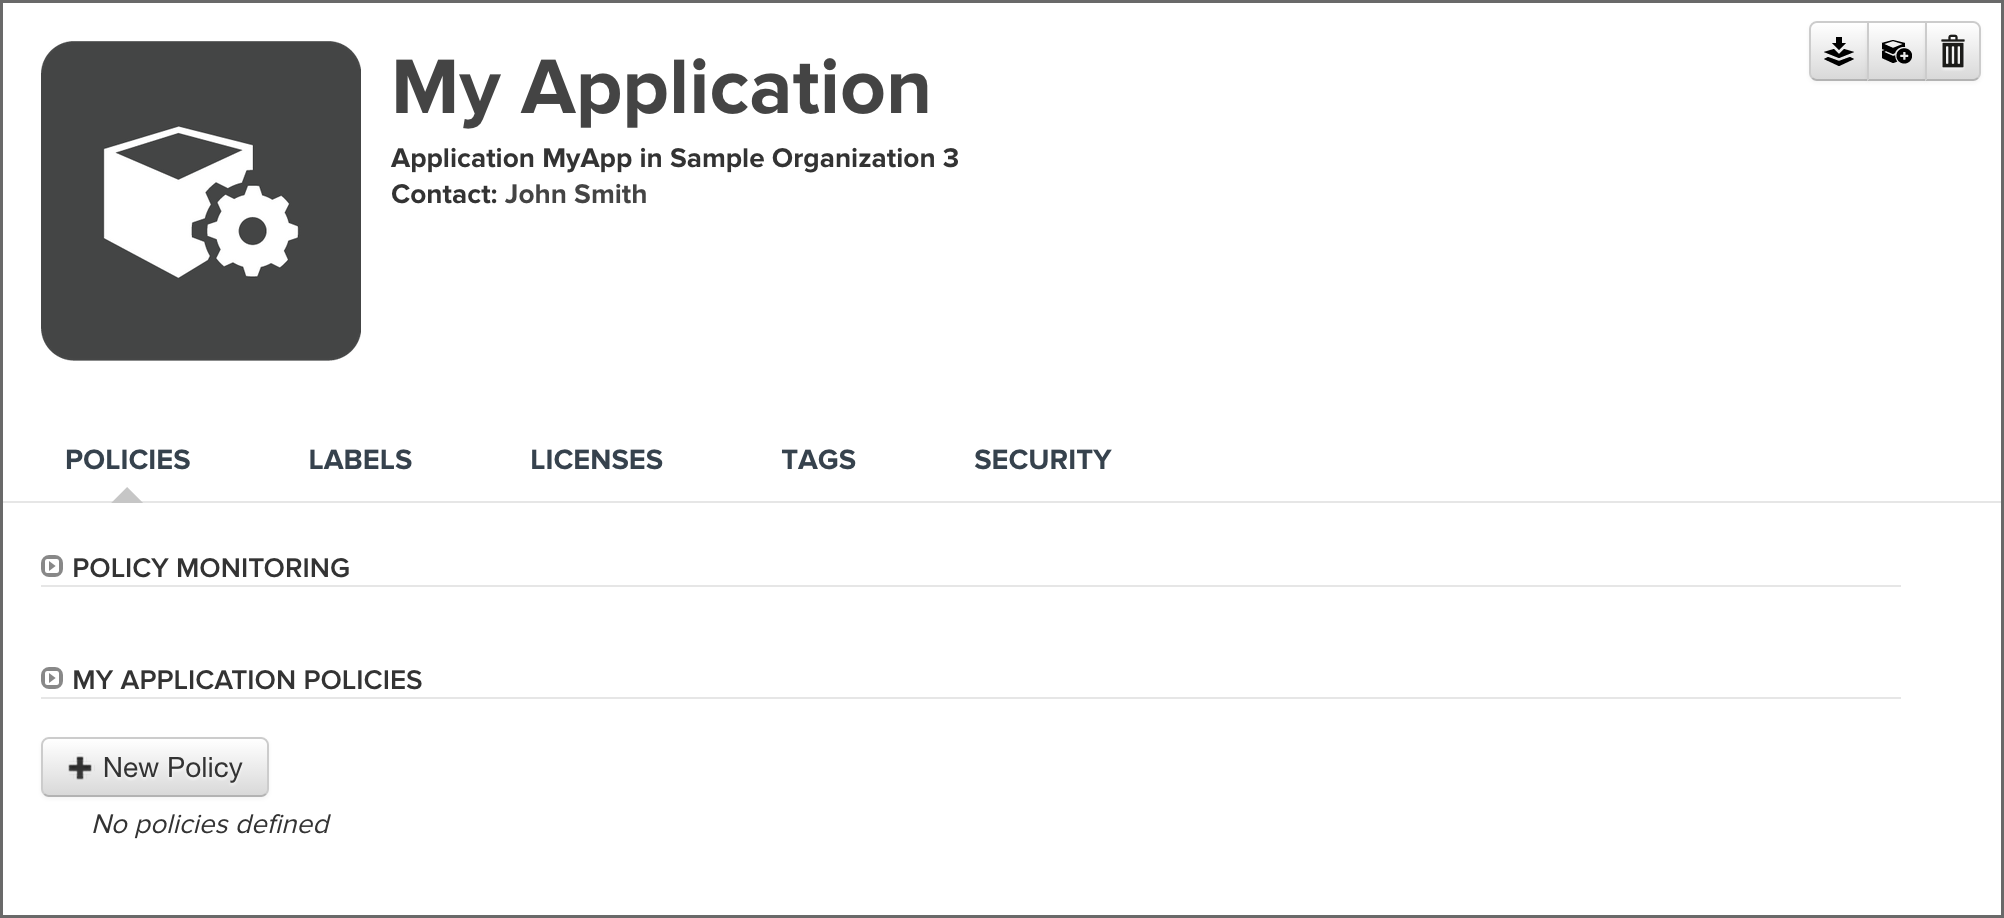
You can add an icon for your organization by hovering over the default organization icon and clicking Choose Icon. The image should be sized to 160 x 160 pixels and use the PNG format. Images with different sizes will be scaled. Alternatively you can click Want a robot to select a robot image for the organization. Click repeatedly to cycle through a variety of robot images.

figs/web/clm-server-view-application.png

Figure 6.2. Application Management Area