
A User Guide to Reports in Sonatype CLM
When assigning a label, you will only have access to those labels created specifically for the application, or for that application’s organization. Given this, if you don’t see a label you need, speak with whomever is responsible for managing the labels for your application and the organization the application is associated to.
- Access the Application Composition Report for your application.
- Click on the Policy tab.
- Click a component you wish to assign a label to. The Component Information Panel (CIP) displays.
-
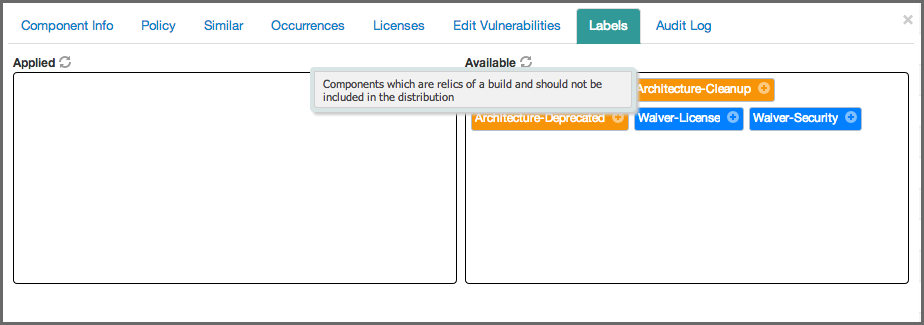
Click the Label option from the CIP menu. Two boxes will be displayed:
- The Applied box on the left represents labels that have been assigned to the component already.
- The Available box on the right displays all labels.
- Clicking on the button on the right side of a label will move to the opposite side. Hovering over a label displays the description.
- Click on the + button on the right side of a label in the Available list to assign the label to the component.
- Click on the - button on the right side of a label in the Applied list to remove the label from the component.
If the label was created at the organization level, you will be presented with two options:
- Apply the label to the current component in the current application
- Apply the label to the current component within the organization, so that all applications within the organization gain access to the label assigned.